Comment

Worlds Lightest Time Lapse Camera System

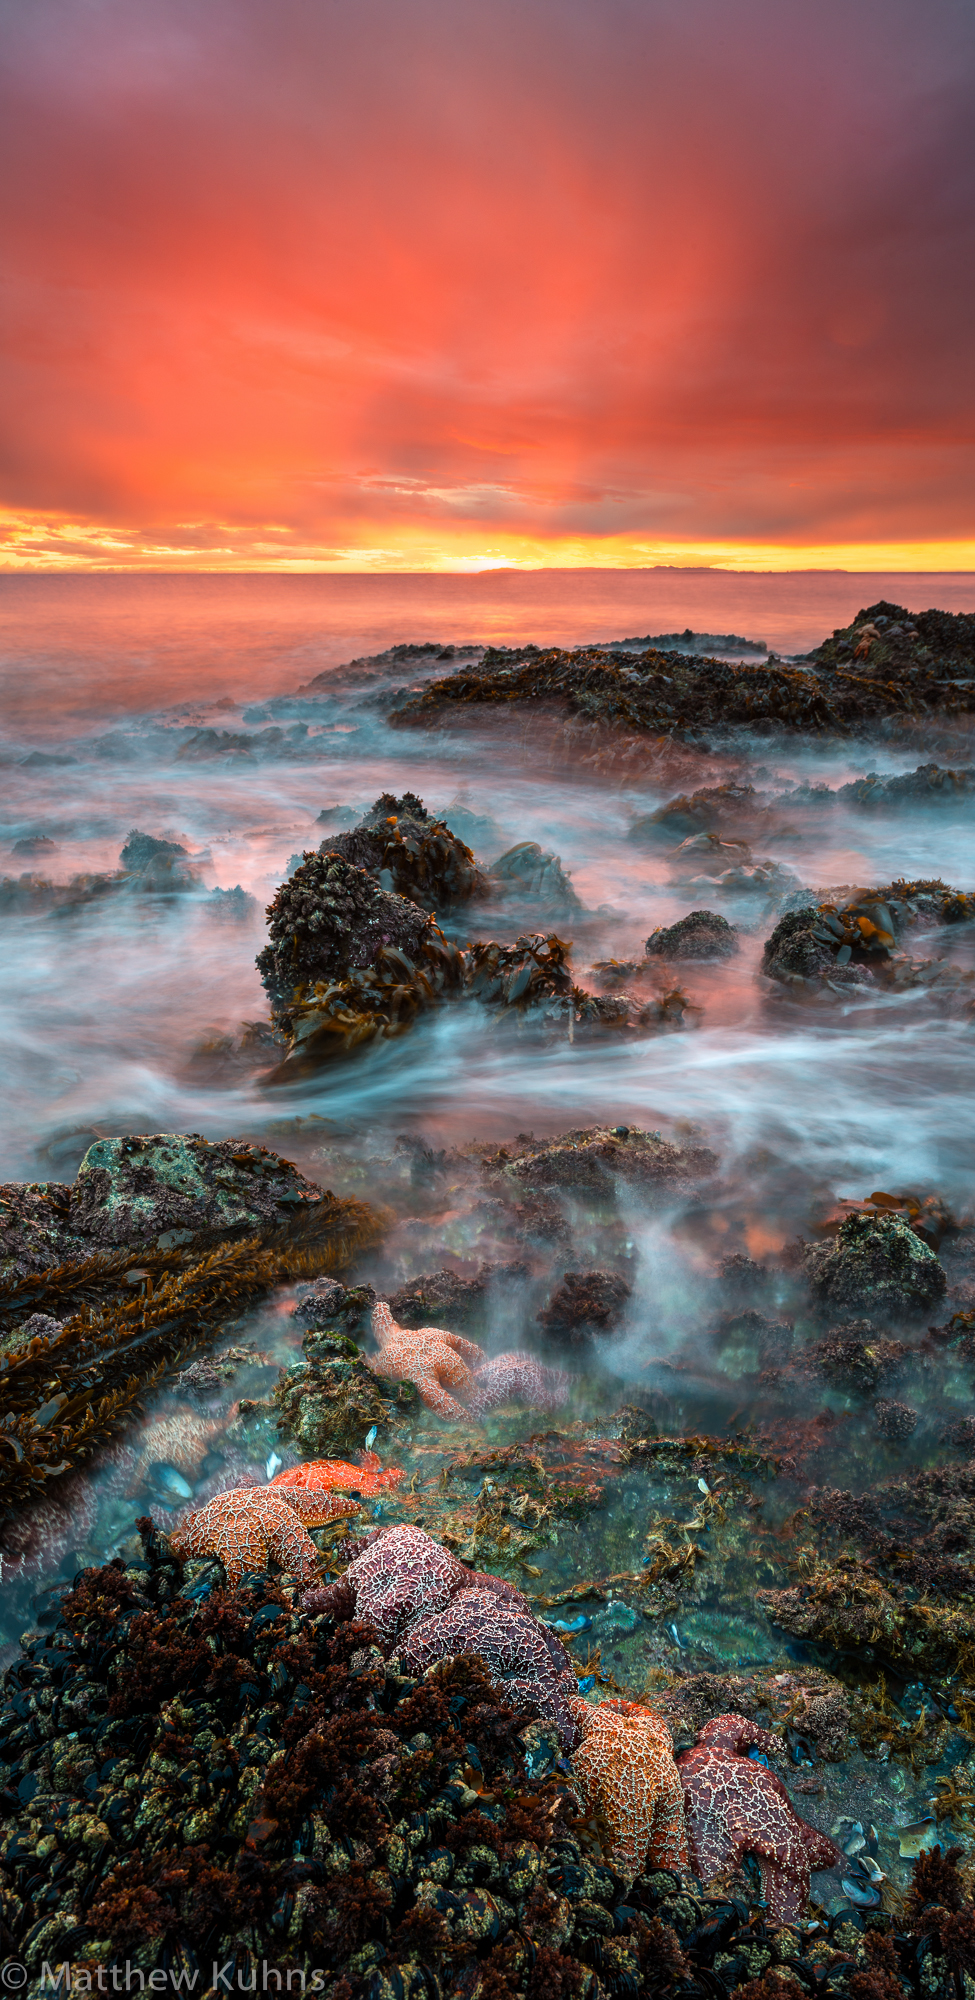
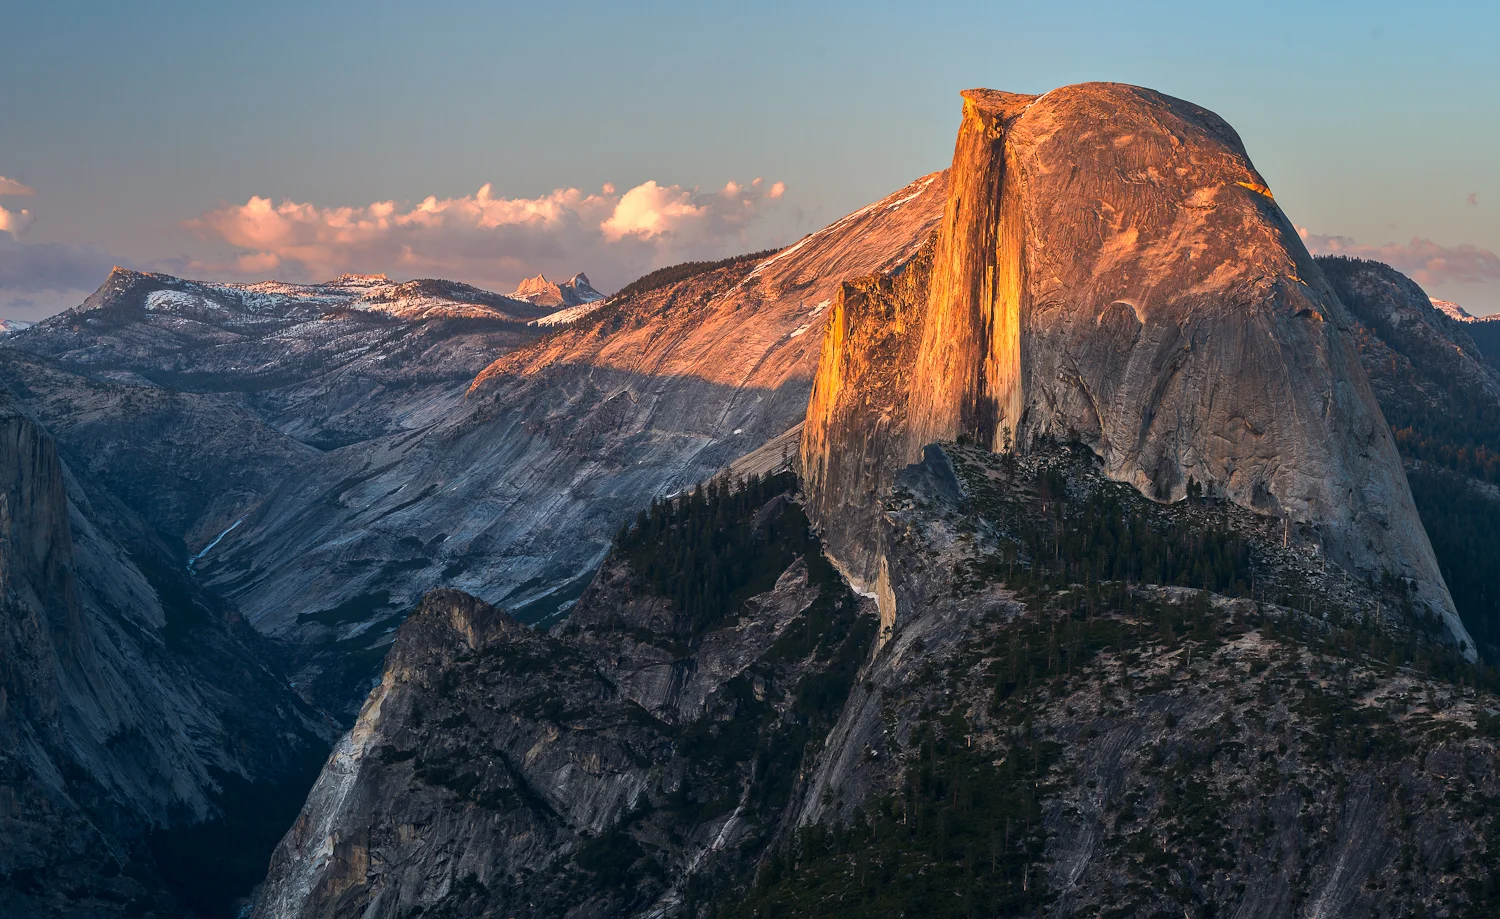
As I was hiking in Yosemite with Jeff Mitchum we were talking about cameras (what a shock!) and he challenged me to design a lighter weight dolly system for time lapse videos. Something that would be easier to carry into the High Sierra.  I did some quick mental estimates and told him 5 lbs. I didn't realize until I got home that 5 lbs was nearly half the weight of any system out there. Yikes.

The system set up for testing.

I started by working up designs in SolidWorks, a 3D CAD system, so that I could look at sizes, clearances, weight, and strength.  I was able to run stress analysis on the parts an remove all the unneeded material so the system could be as light as possible.

A SolidWorks rendering showing one of the initial platform designs.

A plot showing the areas of high stress induced by the camera on the platform.

After way to much time drawing and testing on the computer, I started making prototypes using advanced 3D printing techniques to create a platform nearly as strong as aluminum, but at a much lower weight. Several revisions were assembled in the garage while my dog Quark supervised, he thought I was crazy.

The system without a camera mounted on it.

The rails are carbon fiber and a I used a custom wheel design to make sure the system was as light as possible while still rolling smoothly and not being in danger of tipping off.  The rails are also segmented in 2 ft lengths, and you can add as many sections as your shot requires, so if you had a 20 ft belt you could assemble 20 ft of track. To make sure the legs were packable I also designed the rails to nest inside each other for transport, which means one is slightly smaller than the other. This made for some fun geometry during the design phase, but it works really nicely for transport.

I used an off the shelf controller from Dynamic Perception (awesome people and great support!).  This was integrated with two RC motors and a belt drive system. Creating a light weight yet stable and strong interface between the 2nd motor and the camera was one of the biggest challenges and went through several stages of prototyping and testing to ensure it was strong enough.

The completed system (Patent Pending) snaps / screws together in ~ 5 minutes, and fits neatly into a small bag.  The components were sized to fit into my 40L hiking pack.  It weighs 4.9 lbs WITH 2 motors, battery pack, platform, controller, drive system, Really Right Stuff ball head, and 4 ft of track. Easily making it the lightest system in the world! 

Now we are just waiting for the snow to melt in the Sierras and it will get to prove its worth in Yosemite.

The dolly system with 4 ft of track and a Canon 5D undergoing some testings.

Comment

Comment

Sunset Magazine Cover!!!

Wahoo I got my first big cover image!

I am completely amazed, feel so lucky, and am so grateful to Tandem and Sunset for this opportunity, especially as part of the National Parks Guide. I've been told their readership is around 8 million people...just staggering to think that many people will see my photography.  I took this image on my first visit to Yosemite Valley while waiting for a tow truck to come take away my dead car, I guess I am glad the mishap forced me to spend more time than expected at Swinging Bridge so i could capture this photo mid-morning. Thanks again Tandem and JP!

Sunset Magazine, March 2014

Sunset Magazine, March 2014

Comment

2 Comments

How Light Changes Throughout the Day

I often hear the question, should that location be photographed in the morning or evening, or why not during the middle of the day? On one of my trips to San Fransico, I happened to spend a lot of time at one of the viewpoints overlooking the Golden Gate Bridge, Battery Spencer in the Marin Headlands.  I was scouting the area for the flyby of the Space Shuttle Endeavour, so I got photographs from midnight, sunrise, mid-day, and sunset during that 24 hour period. I found it interesting to watch how the light changed over the bridge and city over the course of those hours, so of the images below which time of day do you like best?

Dawn

The sun rises behind the bridge so it is back lit, somewhat muting the classic red of the towers.  When planning a photoshoot, always think about how the light will be hitting your subject. The Photographer's Ephemeris is an excellent tool for this and it allows you to plan shoots and your optimal positioning in advance.  To compensate for a high dynamic range scene like this you could also use HDR (high dynamic range) techniques to blend multiple exposures. 

Image Details:  24mm f/18 0.6 seconds Nikon D800

Image Details:  24mm f/18 0.6 seconds Nikon D800

Mid-Day

With the bright direct sun and possible haze, mid-day is generally the worst time of day to photograph a place like the Golden Gate.  The colors tend to be cooler and a polarizer is recommended.  When the Space Shuttle Endeavour finally made its fly by on the back of the 747, it was mid-morning and the light was quite bad for photography.  Due to delays at Edwards, it was behind schedule so the light was harsher than I had anticipated.  

Image Details: 24 mm f/14 1/400 second ISO 640  Nikon D800

Image Details: 24 mm f/14 1/400 second ISO 640  Nikon D800

I had planned my location based on NASA's published flight plan so that Endeavour would fly right between the two bridge towers with the city in the background.  I felt that the color version did not have the proper impact, so I converted it to black and white to bring out the details and focus attention on the Endeavour.  If you have no choice but to photograph mid-day, try thinking about your images in black and white while setting up your compositions. 

Image Details: 24 mm f/14 1/400 second ISO 640  Nikon D800 - B&W Conversion in Nik Silver Effects Pro.

Image Details: 24 mm f/14 1/400 second ISO 640  Nikon D800 - B&W Conversion in Nik Silver Effects Pro.

Sunset

Sunset is when the Golden Gate really shines from this location.  The warm light of the setting sun compliments its red color, and the beautiful city of San Fransisco can be seen in the background. It doesn't hurt when there are beautiful fiery clouds in the sky either...

Most of the time while the best light is in the sky, the city lights are not on.  This was the case here, and the lights on the bridge and in San Fransisco in the background are not lit.  

Image Details: 24mm f/20 2.0 seconds Nikon D800

Image Details: 24mm f/20 2.0 seconds Nikon D800

Blue Hour

Blue hour is the short time after sunset or before sunrise where the sky takes on a brilliant sapphire blue in photographs. During this time period is also when most of the city lights come on, creating a great back drop to create compelling images.  The starburst effect seen on the bridge lights is from using a small f-stop, around f/18. You can also stretch exposures longer during this time of day to catch streaking headlights from passing cars.  This is an excellent technique to add leading lines and that extra bit of interest to your cityscapes.

Of the images shown here, this is my favorite for the best combination of light and depth. The city looks so great glittering in the back ground. So make sure you don't pack up too soon after sunset; stay and wait for blue hour. 

Image Details: 38 mm f/14 ISO 250 30 seconds Nikon D800

Image Details: 38 mm f/14 ISO 250 30 seconds Nikon D800

Midnight

Two hours after sunset begins the best time of night to start photographing stars.  When you're in the city however, they tend to be hard to see.  You can see that compared to the blue hour shot above, this image has a jet black sky.  All of the city and bridge lights are on though, so if you want to photograph at midnight or during blue hour comes down to personal preference and what type of image you are trying to capture.

Image Details: 24mm f/5.6 30 seconds Nikon D800

Image Details: 24mm f/5.6 30 seconds Nikon D800

2 Comments

The Listening Rock

Comment

The Listening Rock

We join Roger as he makes camp in Yosemite.....

I set camp among dark trees, within the murmuring comfort of the river. I was scrutinized by stellar jays and squirrels. The day drifted, and soon I began to cook a hot meal. Resting against a tree, my muscles let me know of their stiffness from the days hike. I had my pack open, and while munching on some gorp, I kneeled down to stir the broth, which was beginning to boil on the small Svea back packing stove. 

Suddenly I paused, my senses charged to alertness. The air felt strange and full of presence. Slowly I turned my head and look squarely into the deep eyes of a very large brown bear. He was only two feet away from me, and I could smell his breath. Because I was kneeling, and he had stepped up on a log, the bear seemed to tower over me. The brown eyes

possessed a coolness I lacked; the hulking shape carried perhaps four times my weight. Adrenaline pulsed through my body.

He didn’t move. Neither did I.

It seemed like hours but only seconds passed.

The bruin stood before me in anticipation of a dinner, all the while drooling on my back pack and sleeping bag. I hadn’t invited him, directly at least; the smell of the broth had called him - as loudly as a dinner bell on a midwest- ern farm.

Slowly, without making a sound or lodging a complaint, I retreated. I backed away about thirty feet, and grabbed the first branch of a tree - a vertical escape route. The bear had come within two feet of me, and I never heard him approach, although the rush of the river undoubtedly concealed some of the noise. I could not hear him as he inspected my camp. Soon he discovered my peanut butter, and I had the urge to yell at him. But this posed an interesting problem...what does one say to a very large bear when he begins to eat all your food?

[Excerpt from the Listening Rock - Vol 1] Click here for more.  

Comment

2 Comments

The New Matthew Kuhns Photography

Welcome to the new Matthew Kuhns Photography! I have been very busy over the last few months with a myriad of projects, and many of them are finally reaching completion!  So in addition to some of the things discussed below, expect some REALLY COOL projects to be announced within the next few months. 

Website Redesign

I realize I hadn't been diligent about updating my website, so I am partway through a complete overhaul.  Updating the images and making it easier to purchase fine art and e-books through it. I'm excited to show you some of my recent work, I have been busy! Its been awesome being able to go on at least a few trips every month, from Hawaii to the Appalachians and many places in between taking over 20,000 photos. 

E-Books

Expect to see several E-Books released in 2014, starting with The Listening Rock, which describes my fathers journeys illustrated by my photographs.  

I also linked to some excellent E-Books by Ian Plant, worth checking out. 

Getting back in Mountaineering Shape

One of my goals for this winter is to do more back country photography in the High Sierra.  I realized though that I've been working too much and gotten a little bit out of shape.  So after some mediocre progress on my own I was able to, after a long search, find a trainer who would help me train on my bike for mountaineering.  You can follow my progress on Strava if you want to watch me suffer: http://www.strava.com/athletes/1149613

Time Lapse System

While hiking in Yosemite with Jeff Mitchum he challenged me to create an ultra light time lapse dolly that could be carried into the Sierra back country.  I didn't really know what I was getting myself into when I said I could do it, and do it in under 5 lbs.... but a little over a year later its up and running and officially Patent Pending.  

Its a ridiculously cool design, using all I've learned about composites and 3D printing through aerospace engineering and bringing it to the photography world.   It even folds up nicely and will fit into a standard 40L pack for hiking.  

We will work to productionize it over the next few months, but if anyone is interested in one of the prototypes, let me know. 

photo.JPG

2 Comments

Comment

Mountaineers Route

This past weekend I made an attempt at climbing Mt Whitney (14,505 ft) via the Mountaineers Route.  Quark and I started the climb with gorgeous weather and blue skies, and we made it to Lower Boyscout Lake in time for a lunch and some romping in the snow.

My gear, around 45 lbs. ​

After that point we were above the snow line, and the soft spring snow started making me regret my decision to leave my snowshoes in the car.  I was post holing up to my waist, and there were times I had to crawl in order to make progress.  I eventually made it past Upper Boyscout Lake and climbed the ridge near Iceberg Lake to make camp.  ​

A room with a view!​

It was a gorgeous sunset that evening and a beautiful cold night full of bright stars.  The mountains are truly gorgeous, especially when you are surrounded by high snow covered peaks. ​

​The next morning I arose before dawn and put on my crampons, only the snow had not frozen over night and was still too soft without snow shoes.  I realized that attempting the summit alone and tired would not be a safe endeavor, so I enjoyed the beautiful sunrise and vowed to come back another day.

Sunset looking down the Mountaineers Route with Boyscout Lake and Alabama Hills in the distance. ​

Quarks favorite pastime is playing in the snow. On the descent he got so excited about the glissading that he would slide down the hill, then run back to the top and line up next to me so we could race, it was very cute!​

Comment

An Escape to Zion

2 Comments

An Escape to Zion

One place in the national park system shines above all others for the best nature photography, Zion National Park in Utah.  Two hundred million years of nature's violent forces of ice, snow and water carved out a canyon in the sandstone which can only be described as "awesome".   A paradise for landscape photographers, the glowing orange, red and pink textured sandstone provide a gorgeous contrast with the bright blue skies...

2 Comments

The Cracked Wastes

Comment

The Cracked Wastes

Death Valley. The name alone conjured images of a dusty barren wasteland. The park has virtually no water, and is full of sun-bleached rocks and sand, devoid of the lush vegetation usually associated with beautiful landscapes. Not to mention the extreme temperature fluctuations a photographer must endure to get the shot in the best light of dawn, where it can be snowing at 4am and 90 degrees by the time you drive out of the park at noon.

Comment

Experiencing Yosemite

Comment

Experiencing Yosemite

Whether you’re an amateur or professional photographer, there is one place on the planet where it’s easy to achieve beautiful landscape photography. The natural beauty of Yosemite National Park has inspired photographers for decades. In 1890 Yosemite Valley was granted national park status, and since then a series of roads and trails were built to give you easy access to the valley's breathtaking vistas.

Comment

The Breeze at Big Sur

Comment

The Breeze at Big Sur

It's almost impossible not to capture pretty landscape pictures at Big Sur, on the Central Coast of California.  Because of the traffic-halting views along this stretch of highway, professional and amateur photographers alike will find snapping a few pictures from these spots irresistible.

Comment